Starting Succulent Seeds
As with all seeds there are many ways to get succulent seeds to germinate and with any new seed your are trying to germinate we suggest you research online via Google or YouTube different methods of germination. This method works for both succulents and cactus seeds.
Below is a guide on how we start them:
The keys to successful succulent germination is light, warmth, and moisture.
Succulents can take over 30 days to germinate so it is important to start with a sterile growing medium. Since succulents can take so long to germinate, we use a sterile medium so fungus or mold won’t grow before the seeds have a chance to germinate. We use screened peat with some vermiculite, pearlite, or coarse sand added. You can also use commercial seed starter soil as these are usually sterilized for starting plants. You can also use commercial potting soils, or homemade potting soils made with compost, but you will have to sterilize them first by baking them in an oven set at 200 degrees for one hour. If you are sterilizing your own soil like this make sure the potting mixture does not have any Styrofoam added.
Once your soil mixture is ready you want to pre moisten your soil so it is slightly damp, but not soaking wet. Trying to sow most seeds in a soaking wet environment will make them rot before they can germinate and grow.
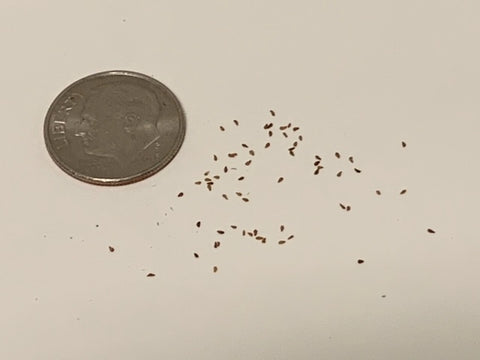
Succulents and cactus are some of the smallest seeds we sell so it is important to sow them evenly and not clump your seeds together.

In the picture above we have taken, a Tupperware container (with holes in the bottom) and added our pre-moistened soil and gently patted down our soil. You can also use a 4" landscape type pot with holes in the bottom. We then mix our seeds with some fine sand and use a shaker to evenly distribute them into our pot. You can use any shaker that has large enough holes to allow the seeds to pass, a clean Parmesan cheese or spice bottle will work.

We then put a translucent (clear) lid on the container with the corner of the lid cracked open, or in this case we have covered our container with plastic wrap (and secured with a rubber band) and have poked a few holes for humidity control. We then place this container in a tray that has around 1" of water in it at all times. Do not let your potting mix dry out.

We then have a small shop light attached to our container for a light source. We use a LED type grow light so as not to generate to much heat.

In this example we are using a small landscape type pot that holes in the bottom. We follow the sowing instructions above and place this pot in a shallow dish of water which always has around 1 inch of water in it until our seeds germinate. We then cover with plastic wrap and place under lights.
You want maintain around a 70 to 75 degree temperature of your surface soil.

If you are germinating in cold winter months and you might have to use a germination heat mat that is easily found on many online vendors like Amazon, Walmart, Ebay, etc. for around $10 to maintain your heat level. It will take a bit of trial and error to get the right set up to maintain a temperature around 70 degrees. If you are missing one of the key elements (consistent warmth, light, or moisture) your seeds will not germinate.
Once they germinate, and are about 1/4" tall, you can remove the plastic wrap. You can also then add 1/4 strength liquid fertilizer like Miracle Grow to their water in the bottom tray (water from the bottom). When they are about 1/2" tall, and in the spring after your last frost, you can transplant them into your garden or into individual pots as they make great potted plants. We gradually increase the size of the pot and in spring start putting our seedlings where they get 2 hours of direct sunlight per day for one week. After a week, and if threat of freezing weather has passed, we leave them outdoors in a protected spot where they only get morning sun for a second week and then after that into our garden.